Step By Step OEL 7 (Linux) installation on VirtualBox
In this tutorial i will be installing OEL7 on VirtualBox .Steps are as below. Step 1=> Download OEL 7 from https://edelivery.oracle.com and save to staging area. Step 2=> Install VirtualBox Binary on Ubuntu. Same i have done in below article. -STEP_BY_STEP_VM_SETUP Step 3=> Now we will be doing basic installation of Linux Machine and will use this VBOX for other purpose. Launch Virtual Box and Click on NEW and then select values as belowStep 4=> Check Memory Size and adjust as per requirement
Step 5=> Click on Create VDI
Step 6=> Click on VDI
Step 7=> Click on Dynamically Allocation
Step 8=> Select VDI file location and Size and click on CREATE.
Step 9=> Now post creation of VirtualBox we will need to do some settings. Move Floppy disk to below and uncheck that .
Step 10=> Plug-in ISO file which we downloaded above
Step 11=> Now we will select 1 Host-Only Adapter as below
Step 12=> Next Adapter will be as Bridge-Only
Step 13=> Final Setting as below
Step 14=> Click on START and proceed to setup Linux as below
Step 15=> Click Continue
Step 16=> Wait for few second and then below screen
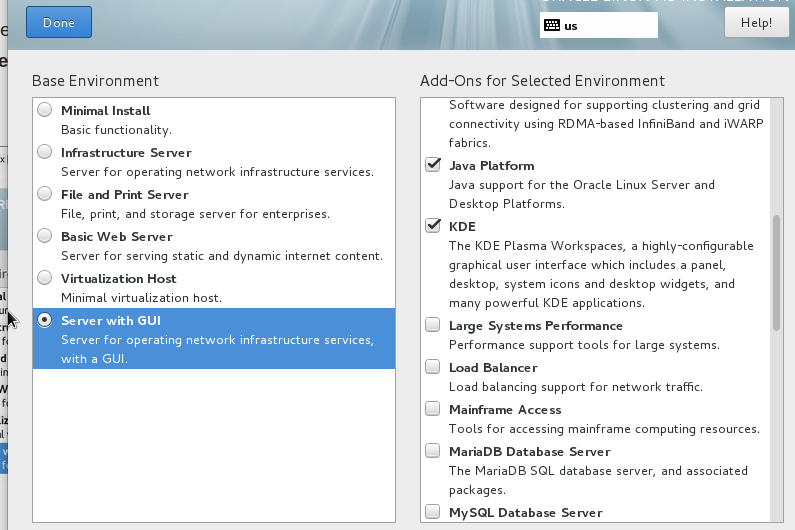
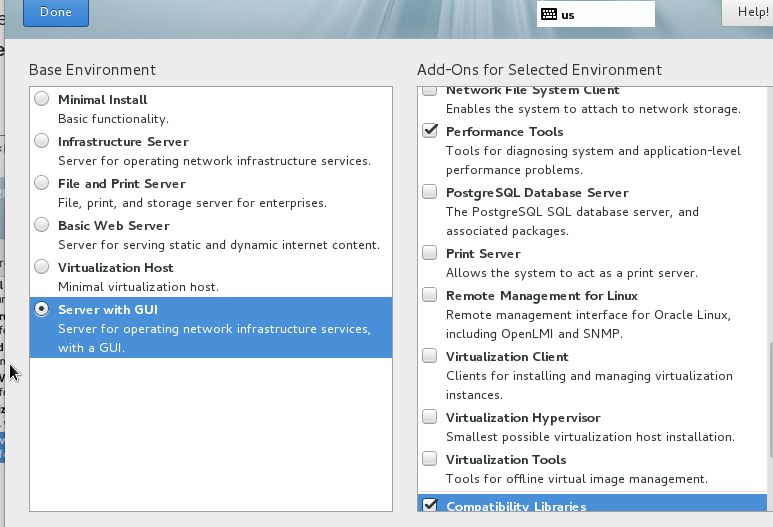
Step 17=> Click on Software Selection and select below Software
Step 18=> Now we will setup root password & create separate user
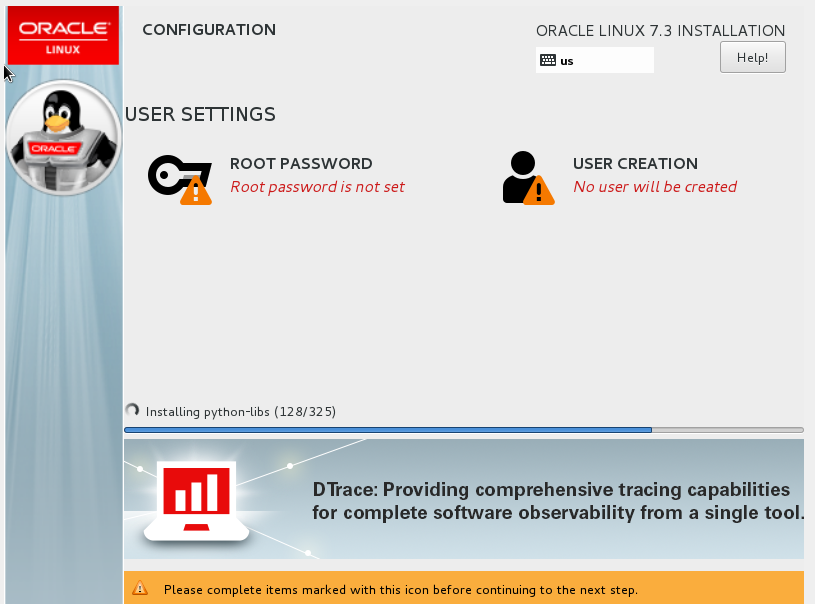
Step 19=> Wait for Installtion to complete
Step 20=> Click on REBOOT
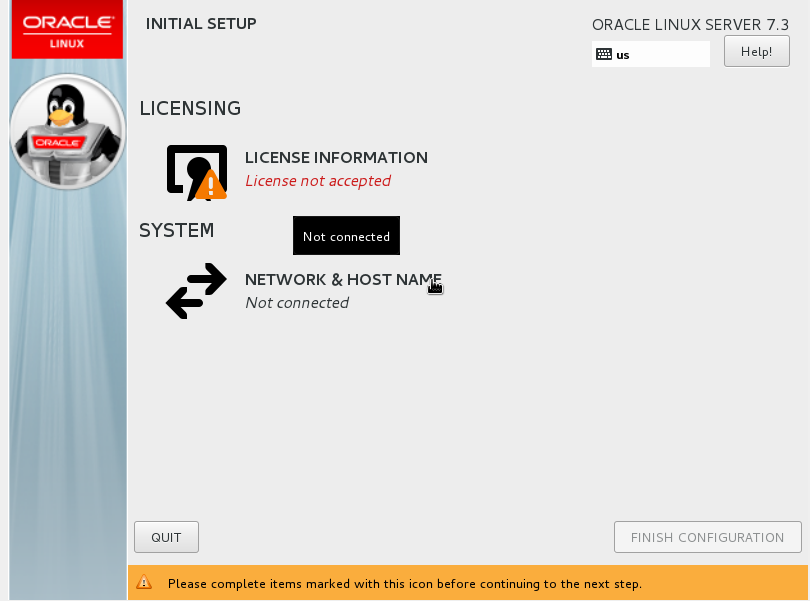
Step 21=> Click on License and accept the same
Step 22=> Once setup done below screen will appear.
Step 23=> Install Guest Addition CD as below. Click on Device on Virtual Box and Click Insert Guest CD
Step 24 => Click on RUN and wait for Executions.
Our Linux Installation is Completed now !!
© 2021 Ace2Oracle. All Rights Reserved | Developed By IBOX444